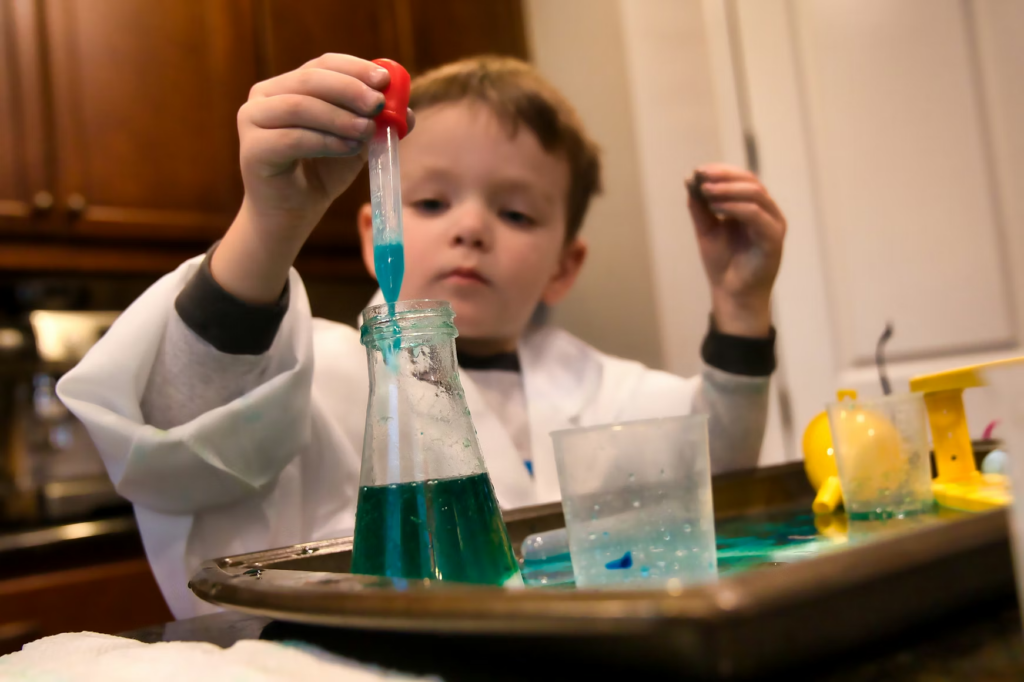
When I was a little kid, I had the privilege of a stay-at-home mum who was very crafty. She would set up something called “science day” for my sisters and I every once in a while, and we absolutely loved it. “Science days” looked something like this: a kitchen floor covered in an old bedsheet, topped with a box of food dyes, baking soda, vinegar, straws, dish soap, cornstarch, a very large orange plastic bowl, some baking trays, and spoons. We would stir, squish, and spill until we had created some new toxic waste for my mum to clean up, but it really was meaningful. I still remember the perplexing texture of cornstarch with water, the sizzling sound of baking soda and vinegar, and the way one drop of red would turn dough pink. Because I had such rich experiences where I was able to freely explore, I was disappointed and confused when I did “real science” in school, and exploring (for the most part) was no longer allowed.
Image taken by myself, 2025
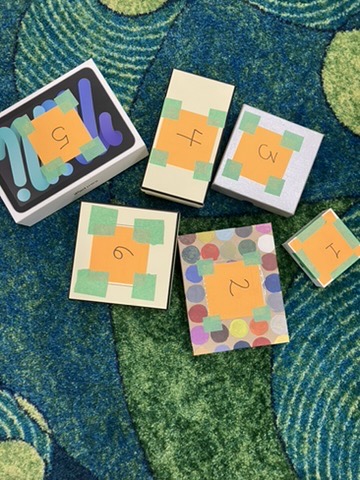
This is why I was thrilled when my elementary science instructor pulled out a set of mysterious boxes for us to investigate, as our students would, using our senses. The goal was to make predictions about the contents, the only rule was “don’t open the box”. I had almost forgotten that “real science” could be playful, imaginative, and creative. On top of that, I think this exercise perfectly embodies universal design for learning. Any student could participate in making predictions, because the task is so open, there are as many ways to study the object as one could dream up. Throughout my class, I noticed people shaking, sliding, weighing, listening to, and even smelling the boxes to collect data on the contents- these strategies probably just scratch the surface of what kids could come up with if they were presented with this activity.
When I came home from class, I compared this activity against the BC science curriculum, as I was wondering what age range it would be most applicable to. To me it seems most relevant in kindergarten, when matter is first being explored, but I can imagine it being adapted across several grades when studying Earth sciences and botany. For example, I could see the boxes being filled with a variety of substrates, such as sand, shale, clay, peat, soil, and silt, and students devising tests to determine their contents. I will be teaching Earth sciences this spring during practicum, and am considering how I can find similarly hands-on and open tasks where students can let their natural curiosity guide them. My childhood self that loved “science days” so much would be thrilled to see science instruction moving in this exciting new direction.
This semester, I’ll be documenting my learning through the course Reading Instructional Principles and Strategies on this blog. This week, I’ll be responding to this reading interest survey, taken and adapted from the textbook Sometimes Reading is Hard by Robin Bright (2021) with an emphasis on the first question (I am so excited to talk about fairies!).
Describe your ‘one book’ that changed everything for you as a reader.
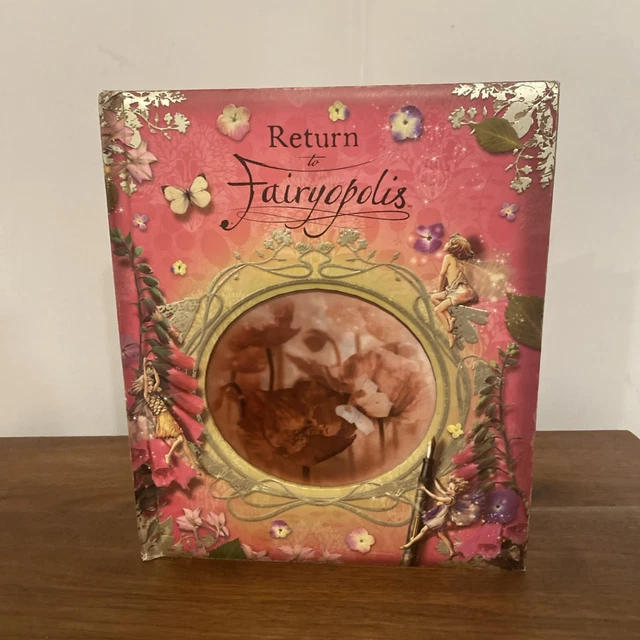
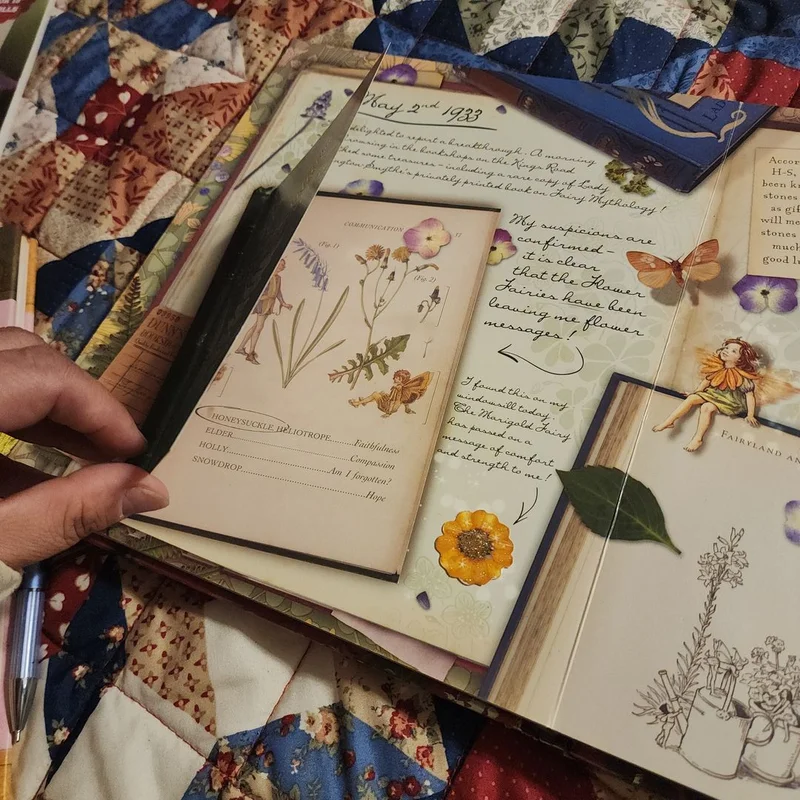
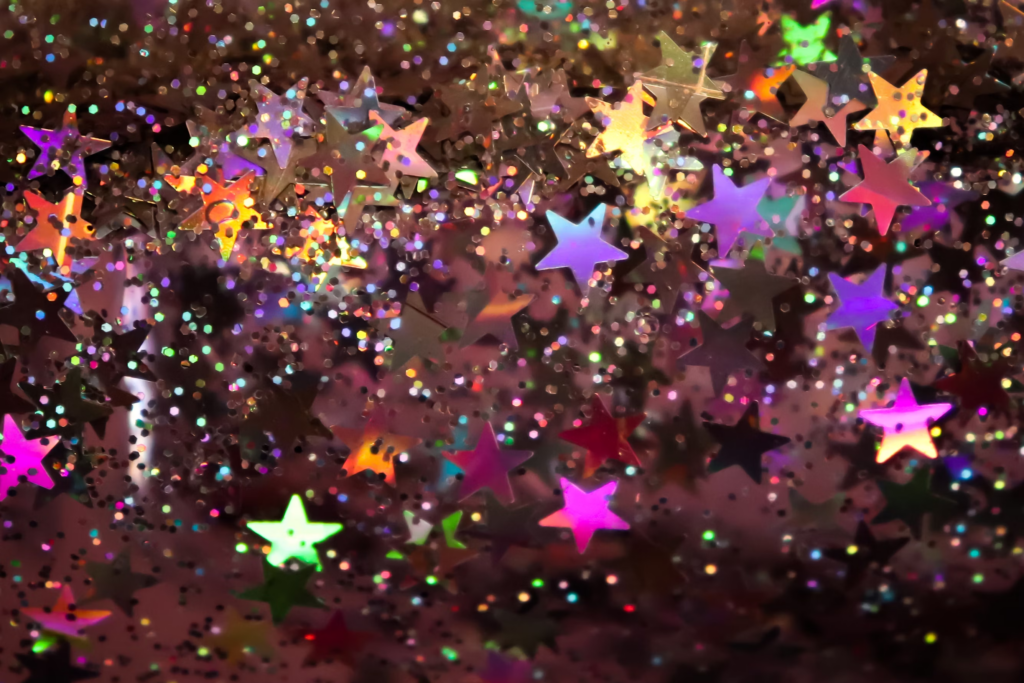
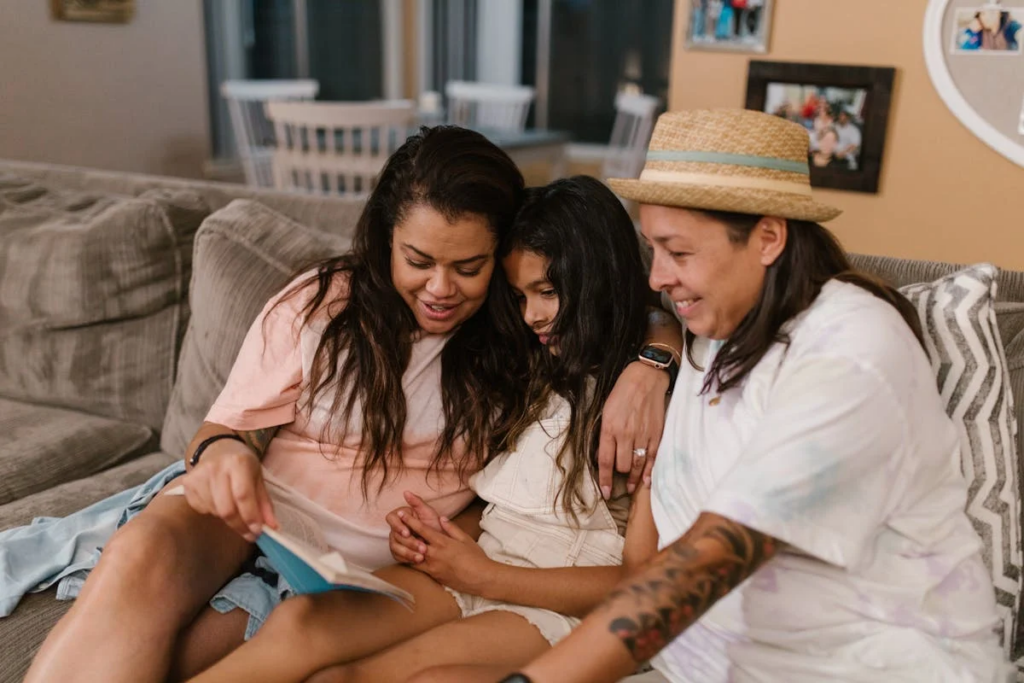
My ‘one book’ was Return to Fairyopolis (Cicely Mary Barker), gifted to me by my parents when I was about six. I was a very reluctant reader (to put it gently); I remember howling in anguish and crying when I was asked to practice reading aloud at home, even shutting myself in my room and holding the door closed once or twice. I was bursting with energy and creativity, and I did not want to waste my precious time on reading when I could be making art, exploring, or playing pretend. For those reasons, this book was exactly what I needed. I loved it so much because it engaged my senses and emotions in a way that traditional books rarely did. The front cover had an insert that revealed a hidden image when turned from side to side, encouraging me to pick up the book to begin with. It featured beautifully detailed illustrations of fairies dancing across the pages, leaving textured glitter behind as they flew. Many pages included interactive elements, such as tiny doors, pressed flower petals to be lifted, envelopes to be opened, and strings to be untied, revealing letters inside which I would read before tucking away.
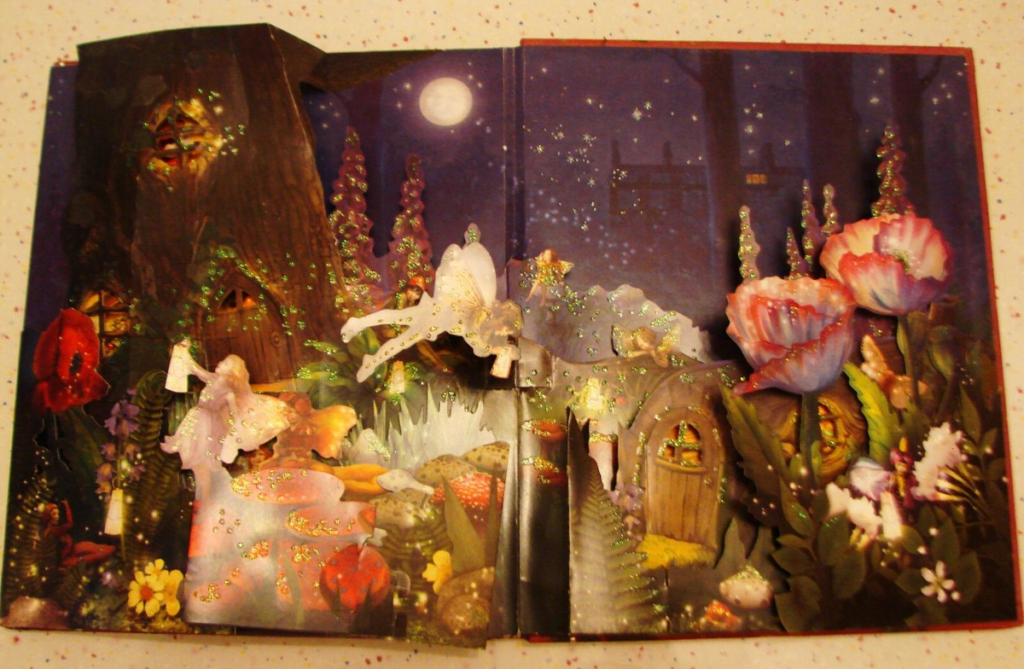
This epistolary book blurred the lines between text and illustration, placing the illustrations woven between, even interacting with, the elegant handwritten text. This sparked my curiosity, inviting me to make the jump from using images to guess at words to truly decoding. Even though some of the words used were far too challenging for me, or were written in scripts that were hard to read, I genuinely wanted to understand them because real fairies had left them behind as clues for me. The scrapbook-style pages spotted with ink, tea cup circles, and pressed leaves reinforced the effect that the text wasn’t just an explanation of the illustrations, it was part of them and they were both needed to understand the story. The final page revealed a pop-up world of fairies, complete with enchanting music that played from a small battery in the back cover. This made the work of decoding the text incredibly rewarding, and kept me re-reading it, understanding more layers of meaning as my patient parents helped me with the words. I still had a brief period of reading struggles after discovering this book, but it has always stayed in my heart, reminding me of how magical books can be when you invest your time in understanding them.
How do you feel about reading? Tell me about it.
I have very positive feelings about reading. It is something that I have felt confident in doing since the end of my grade three reading tantrums, and I particularly enjoy reading out loud to others. I find reading fun and relaxing, and some of my favourite moments in life are when I get the time to read in the forest in my hammock. I even enjoy reading most of my textbooks! Aside from personal enjoyment, I feel positively about reading, because it can be a low-cost, high reward activity for people of all ages. The unfortunate part is that I am quite a busy person, and I do not often make time to read.
What types of books do you like to read?
I usually read expository or creative non-fiction books, but I also enjoy fiction sometimes. I do enjoy browsable books as well, and graphic novels or art collections.
List some hobbies and things you like to do outside of school.
I enjoy fashion and interior design; I am always at the thrift store looking for treasures to add to my closet or walls. I love to be outside, biking, swimming in lakes, or hunting for rocks and gems. I dance and make art, and I always hope to do both of those more. Most recently, I’ve been having lots of fun learning to do drag makeup.
Who are your favourite authors?
For how little I read, I have a relatively long list: Edward Gorey, Ibram X. Kendi, Robin Wall Kimmerer, Billy Ray Belcourt, Layla Saad, and Shaun Tan.
Tell me a bit about the last book you read that you really enjoyed.
I am currently working through The Body Keeps the Score by Dr. Bessel Van Der Kolk. Some parts I find difficult to read as they are quite emotionally intense, but it is very informative and helpful to my work as a teacher.
Tell me a bit about what you have been doing since last semester during your winter break. How have you been spending your time?
During the winter break, I visited my family and friends which was wonderful. Since coming home, I have spent most of my time doing schoolwork and working at my job. I am really looking forward to when I have time to do other things too. I have also been outside quite a bit (perhaps the reason for my never ending cold).
What subjects or topics do you like learning about?
I like learning about so many different things: fashion and fashion history, ethnobotany, Ktunaxa language and culture, visual arts, current events, Celtic fairytales, deep sea creatures, rocks and gems, astronomy, just about everything!
If you could read a book about one thing, what would that be?
Chinatown Pretty: Fashion and Wisdom from Chinatown’s Most Stylish Seniors (Andria Lo and Valerie Luu) is one of my favourites. I would absolutely love to find a similar book if it is out there, but if not, I will just hope to find it again one day to re-read. Below is a video where Andria and Valerie explain this gem of a book:
Chinatown Pretty by Andria Lo and Valerie Luu, Chronicle Books
Here are the links for my technology class group project on “inclusive technology in the classroom”. We created a presentation on Google Slides, and four mini podcast episodes on Screencastify. In our project we talk about four categories of inclusive technology: tech to support visual impairments (episode 1), tech to support nonverbal communication (episode 2), tech to support d/Deaf students (episode 3), and tech to support bilingual students (episode 4). Each one of my group members researched one of these categories; I looked into tech for supporting d/Deaf students in the classroom.
(Response to prompt #4: Outline screen-free coding and why (or why not) you think it should exist in the classroom)
The idea of screen-free coding was completely new to me this week, so I did a bit of reading on it outside of class to better understand what it was all about. As you can see in the above picture, learning to code does not always involve a computer! I found the article linked below interesting, and it gave lots of fun and simple ideas of screen-free games for kids that teach coding skills.
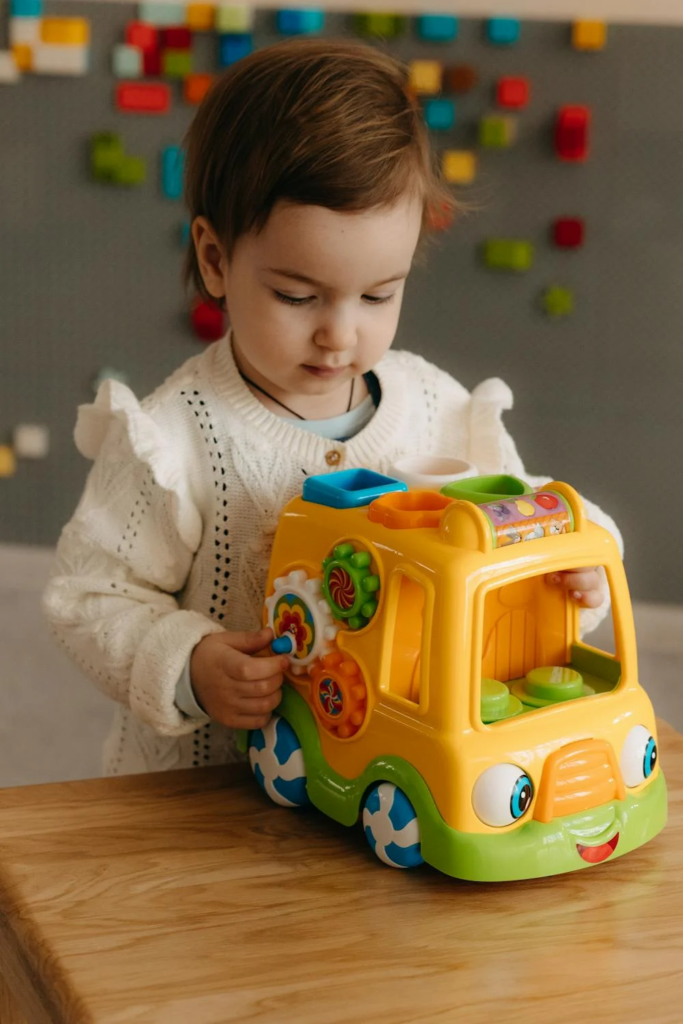
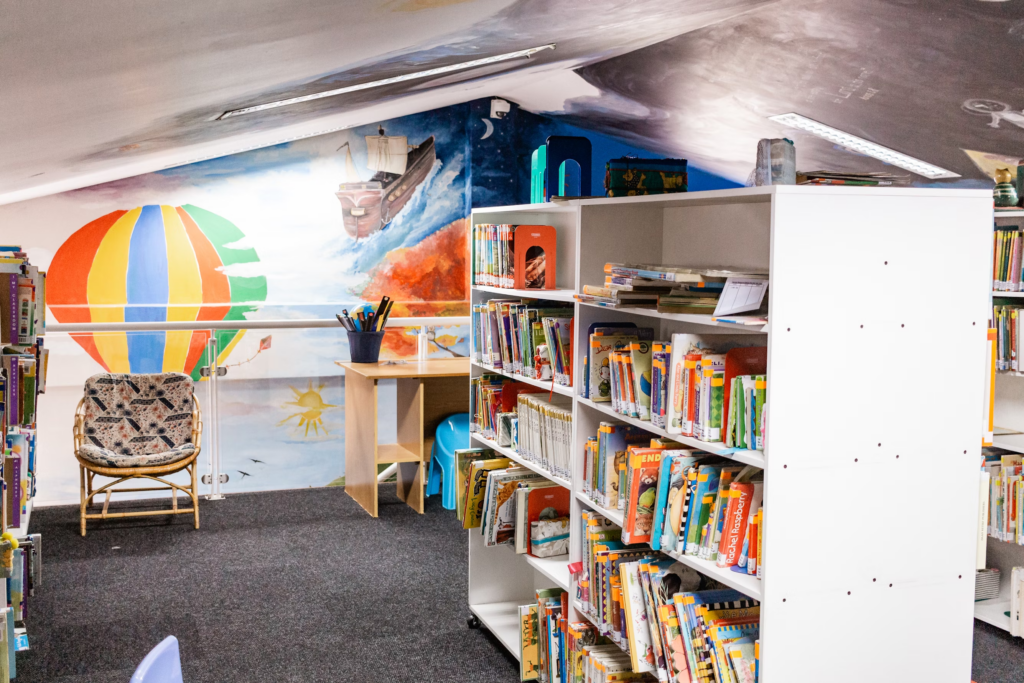
Out of curiosity, I looked at some screen-free coding teaching tool/lesson plan bundles on Canadian Classroom. I really liked the look of the “Bee Bots” for younger primary students, I would love a set one day (linked below for my wish list, or yours). I think I liked the Bee Bots so much because they reminded me of more traditional children’s toys like the yellow bus pictured below- I tend to feel put-off by coding activities for kids that look to “grown up” and robotic because they don’t fit into my (perhaps outdated) idea of what is fun for kids.
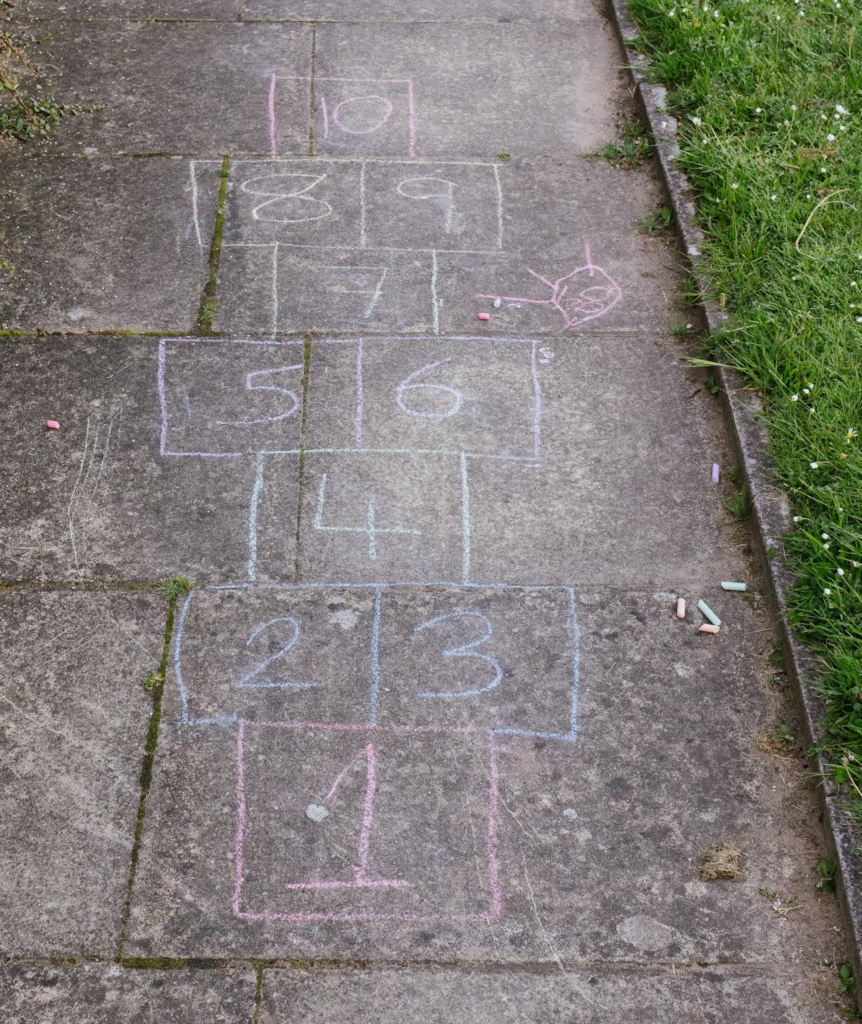
Screen-free coding as I now understand it is any activity that relies upon and teaches fundamental coding skills without using a screen. Some screen-free coding activities use electricity, such as Bee Bots for example, and others use very basic technology without electricity, such as gears and cogs. But some of these activities are so simple that essentially no tools are needed- such as the chalk-and-water gun coding activity in the first linked website. There’s a huge range of potential ways to code screen free for all age and ability levels.
I had to sneak a little joke in here, so there’s a picture of hopscotch- which I think could be turned into a screen-free coding activity, but is also a coding language and app for kids (linked below).
https://www.gethopscotch.com/ Anyhow, now that I have a decent understanding of screen-free coding, it’s something I will definitely be bringing into my future classroom. I think it’s great for so many reasons, but here’s a few:
Students need to be technologically literate to make it in nearly any part of today’s job market, and knowing how to code is a huge asset
Screen-free coding is a fairly palatable, easy to grasp way to introduce a very large skill set that some people view as unimportant or out of reach
Coding without screens is often much more affordable and accessible than coding with them, especially when working in the public school system
Students today tend to spend a lot of time on screens, which is not the best for their development in many ways- having screen-free moments whenever possible, especially when they can incorporate the fun parts of screen time, is what we need
Tools and methods for screen-free coding often don’t have the limitations of wifi connection, water sensitivity, fragility, and battery life that coding with screens does
Coding without screens can bring kids outdoors more and teach them how foundational coding skills apply to real life scenarios such as games, cooking, driving, visual art, and more
So, I guess I am a coding convert thanks to screen-free coding! I’m really looking forward to learning more about this topic, and eventually finding my own ways to build activities centred around it.
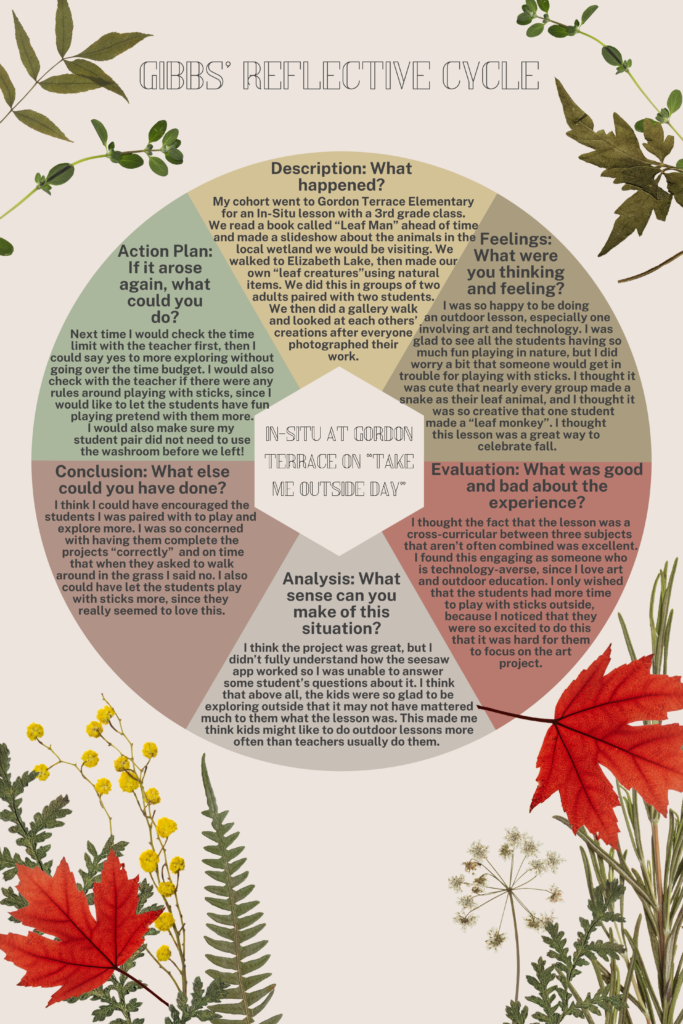
(Response to prompt #1: Use Gibbs’ Reflective Cycle to discuss your in-situ at Gordon Terrace Elementary School this week.)
This week I used Canva to create a graphic for my post. I certainly learned a lot about Canva and feel much more comfortable using it now. I found this tutorial playlist particularly helpful:
(Response to prompt #1: Describe the SD#5 Design Lab. How does it fit in with ‘Innovation in Education’? What stood out to you? Which activities did you choose to do? How do you envision using this space with a class? What sort of project would you choose to do?)
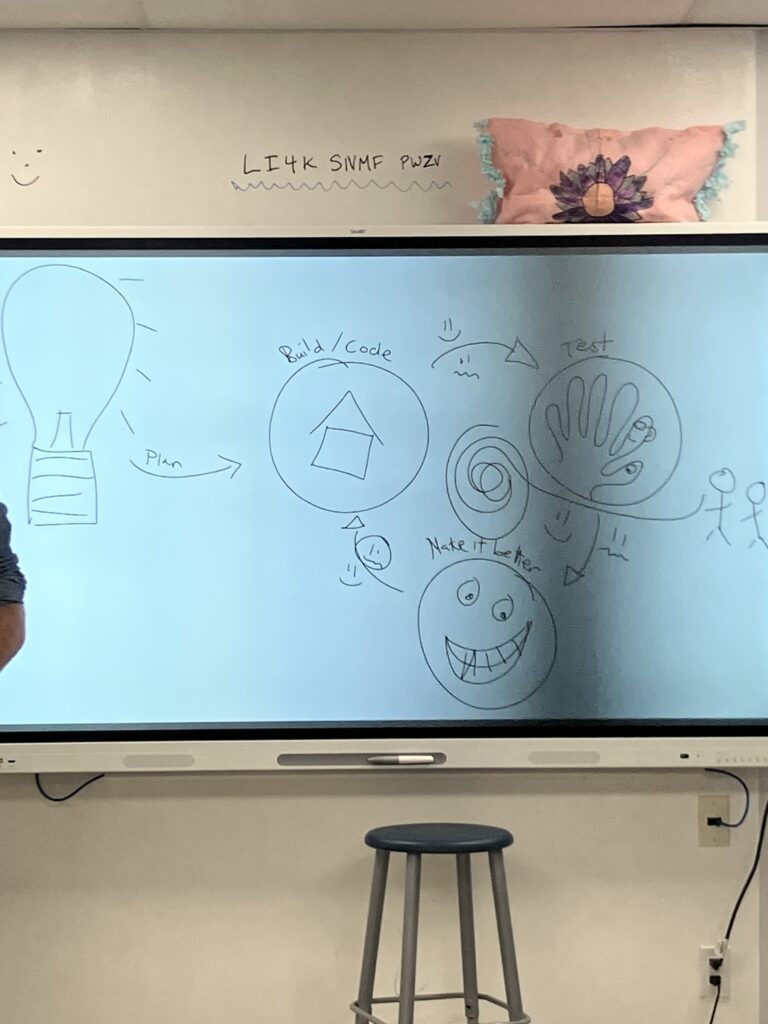
Wow, my experience visiting the SD#5 design lab this week was so fun! I went into it as I usually do with technology (feeling a bit uncertain and not too optimistic), but I left with a changed outlook on technology- which is a recurring theme through tech class this semester. The stock photo above is pretty close to what I imagined when I heard we were visiting a technology-focused “design lab”, but now it’s another funny example of my misconceptions about technology. The design lab wasn’t a room full of computers glowing with eerie blue light, it was a welcoming and engaging learning space that I imagine most students would like to be in. There were all kinds of physical toys and tools for student exploration, and some of the set up tech stations did not involve screens at all. This to me is exactly what innovation in education should mean: teaching students about experimentation, scientific thinking, problem solving, all while encouraging them play and be creative. I found the lab really exciting, and I will go in depth on each of the stations I visited next. Below is a picture I snapped of our host’s smart board while explaining the design process, and it really represents what I want to teach students about technology in all of the following stations.
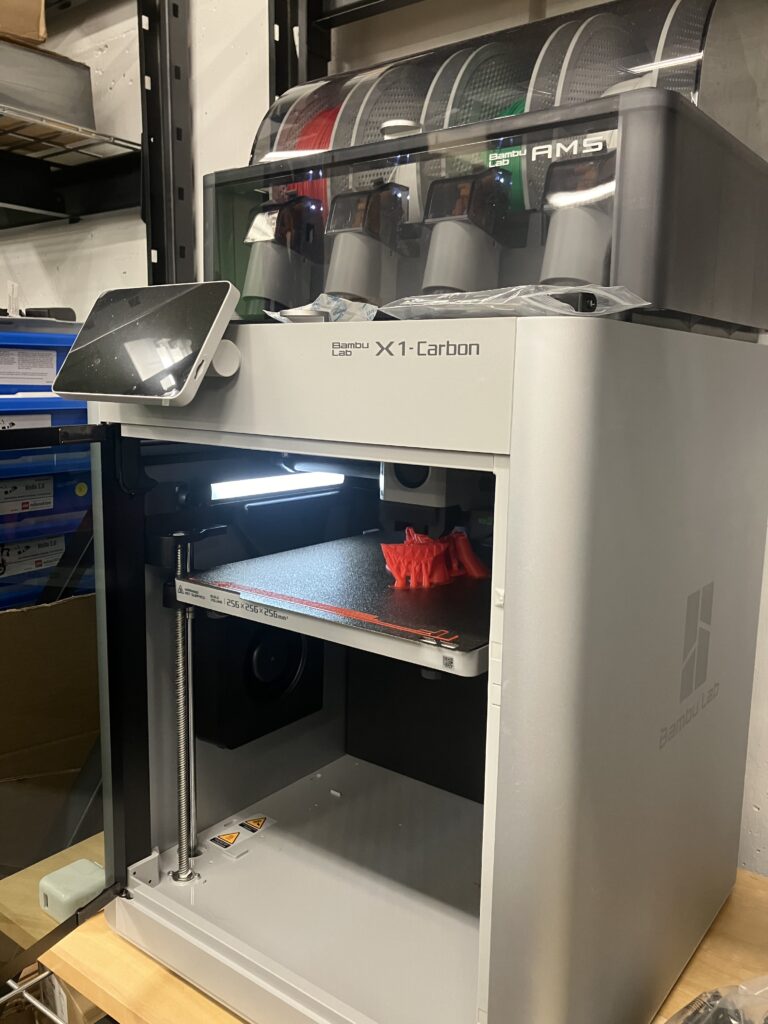
First, I visited the Bambu Labs 3D multicolour printers in the back of the room. While I was not able to use these printers today, our host let us know that students often operate these machines and use them to create toys or holiday ornaments to take home. I love that this technology is included in the lab to be used by all students, students who can’t afford memberships to maker spaces would likely never get to 3D print something to take home. I like how this is being put in everyone’s hands to learn about.
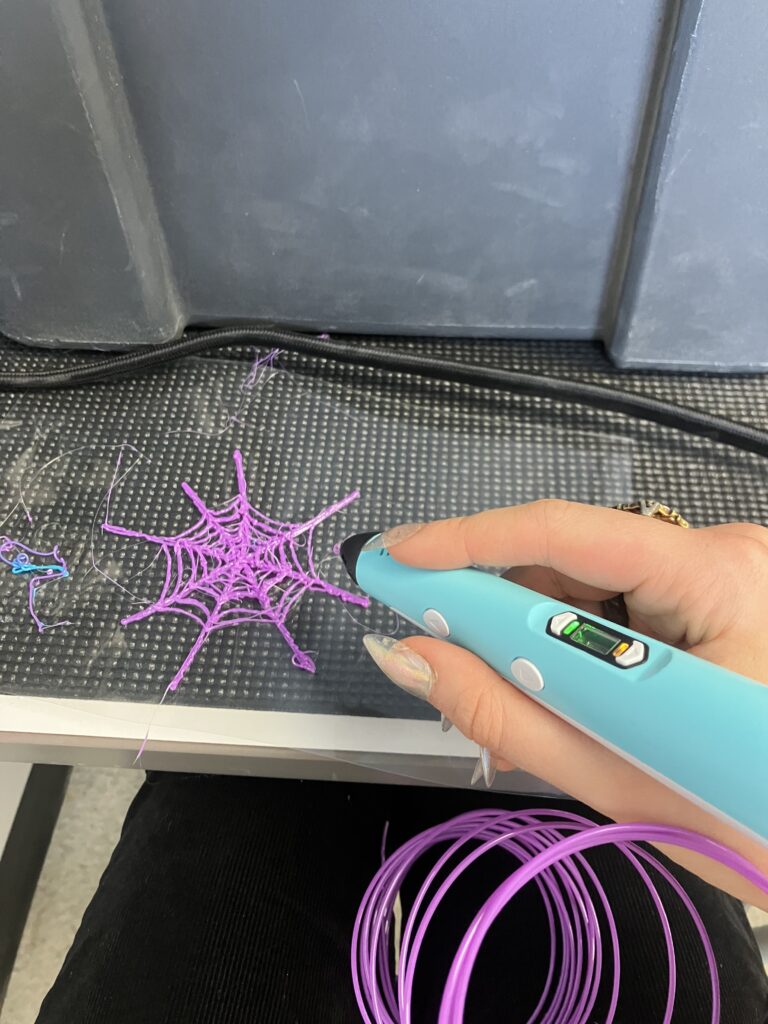
I went to the 3D printing pen station second, because I love making visual art. I had never used one of these neat gadgets, but I found them quite easy to operate and really enjoyable. I think this would be a perfect art class activity for any age, because it is a unique combination of “drawing” and sculpture, and is such a fun demonstration of how art and technology work together. I’d especially like to use the pens for a primary grade art class before introducing 3D printers, because I think it would be a nice starting point to introduce how 3D printers work in a way that would be easier to grasp. I also think it would be nice for students who do not feel as comfortable with art, because there are lots of templates and moulds to use and the outcome can be aesthetic, functional, or both. Some of the templates and moulds are pictured above, and the spider web I made for my halloween costume is pictured below. What really stood out to me about the 3D printing pens is how affordable and easy to use they are.
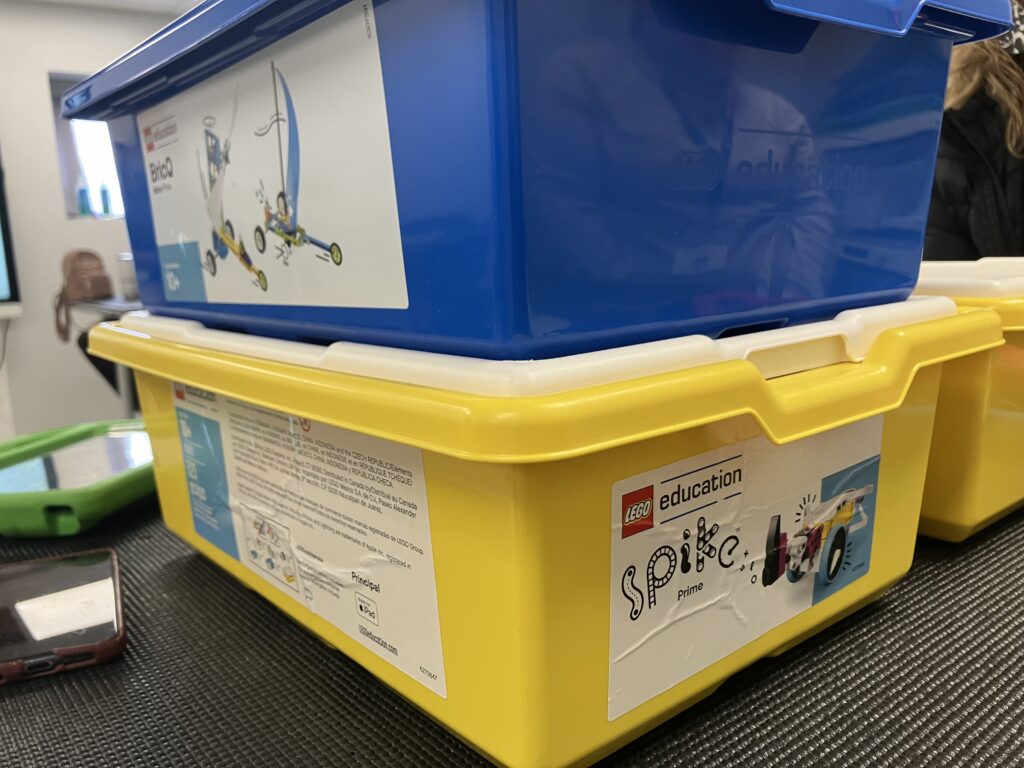
Next, I checked out the lego Spike and BricQ station pictured above. I did not have enough time to dive into this one, but the concept is that students use these kits to build lego creations that can swing, spin, drive, walk, etc. either with of without electricity. I love creating artistic things with lego at home, so I think if I gave this one another chance I’d be confident enough to use it in a technology and/or physics lesson with a future class. I really appreciate that the BricQ set is an “unplugged” activity that still fosters an understanding of physics and some aspects of technology. Over the span of a few weeks, I’d like to try both kits (likely with grade 6 or 7) and then compare the pros and cons of both kits. This could even lead into a social studies lesson about large-scale human use of electricity and its positive and negative consequences.
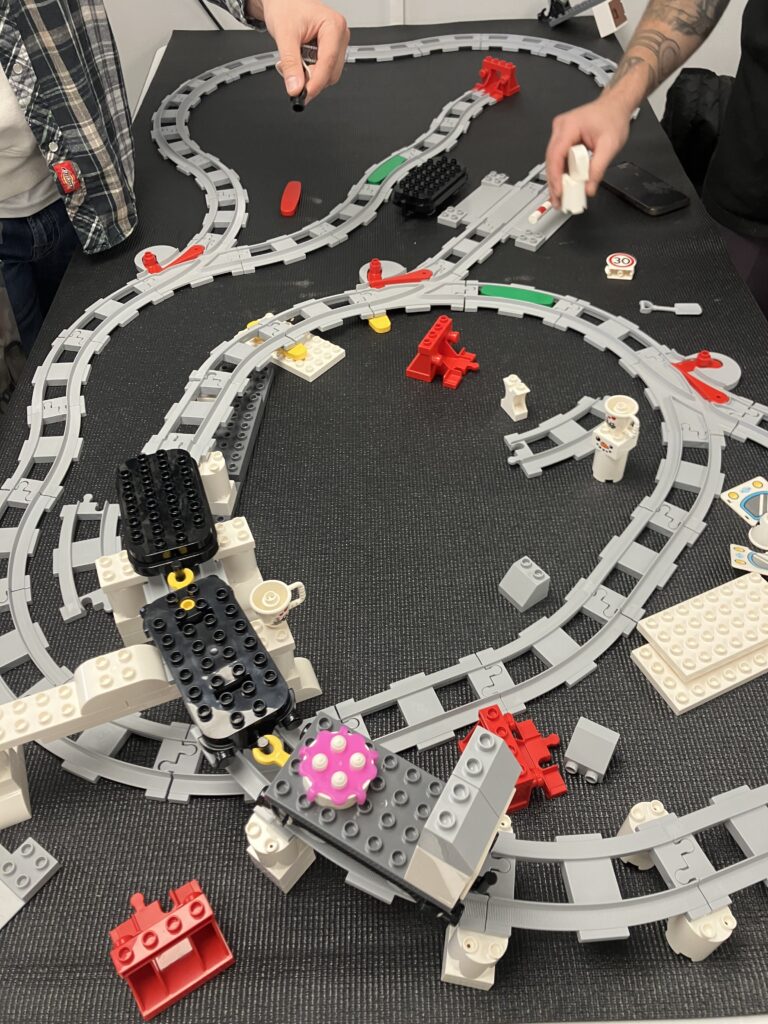
I also visited the lego “train station” and ran out of time to explore it, but I think this one looks like a blast for primary grades. I feel like this lego set could be great for a social studies lesson on city planning and transportation, or to introduce foundational math skills like spatial reasoning and problem solving. Our host explained that he often challenges students to build as many track loops as possible in the space of the table, and that activity would check those boxes while encouraging collaboration in teams.
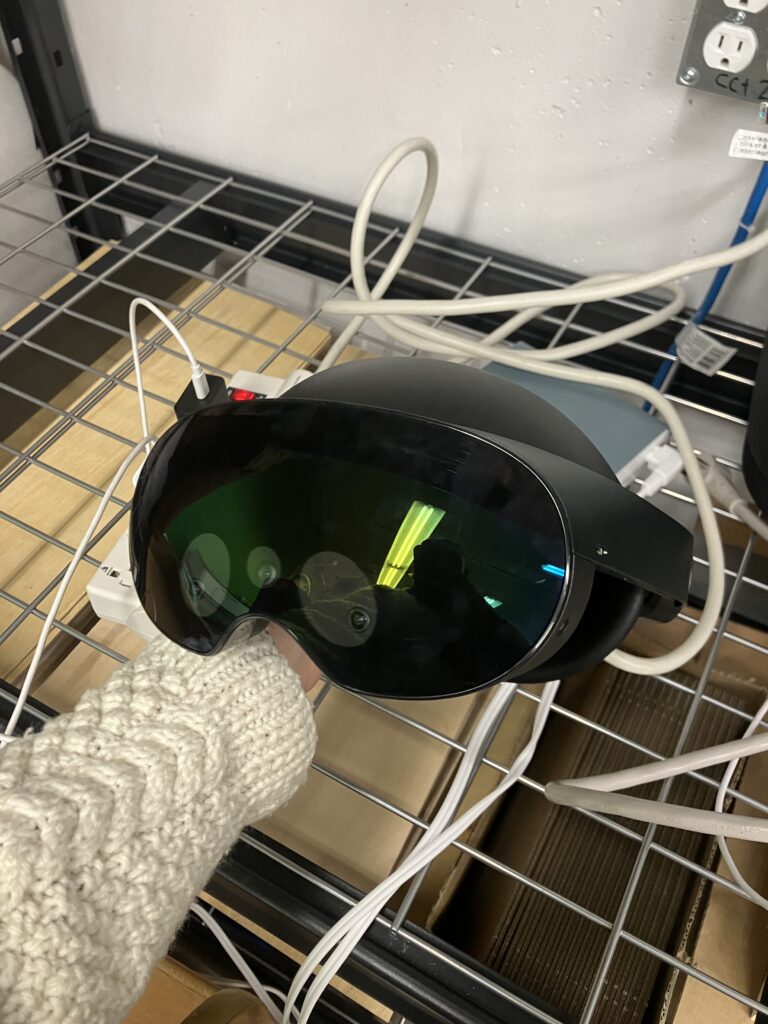
Then, the VR goggles. These were quite interesting! I think I’d only used a VR headset once previously, so it was a bit disorienting for me- I almost walked into a pole. Oops! I played a game where I was in a witches’ castle making potions, and I found it quite confusing. It took me a good while to get a hang of the controls, but I’m sure it would be lots of fun for many students who are more familiar with VR, AR, and video games than I am. I have heard of teachers using VR headsets for virtual field trips with students. Although I usually prefer the idea of taking students outdoors, I think these headsets could be an accessibility and affordability game changer. Since we all have different needs and abilities, some students are left out of field trips because of things like mobility limitations, health issues, or social and emotional needs (anxiety, sensory overload, etc.). And since the sets are already owned by the school district, the cost is much lower that many field trips and can provide students with otherwise impossible experiences- perhaps a field trip to outer space? A journey to the bottom of the ocean? I would be thrilled at a chance to use these field trip ideas for science lessons. Below is a link to a website that offers these VR field trips, just for inspiration and an estimate of cost.
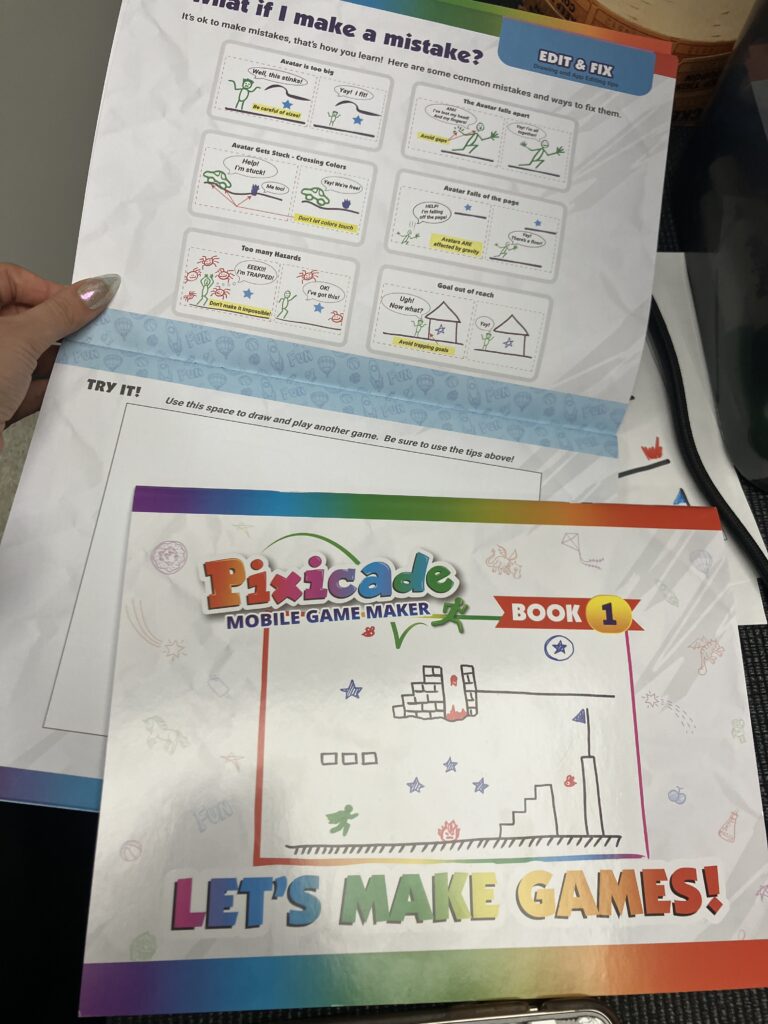
The Pixicade station shown above was completely new to me, I had never heard of anything like this and still can’t believe it works. I would absolutely use this for a cross-curricular art lesson. I think the video game aspect and focus on function over appearance would appeal to many of the students who don’t feel included or confident in art class. It would be a great chance to teach primary students about types of lines and one-dimensional design, while still allowing plenty of room for the artistically inclined students to be creative.
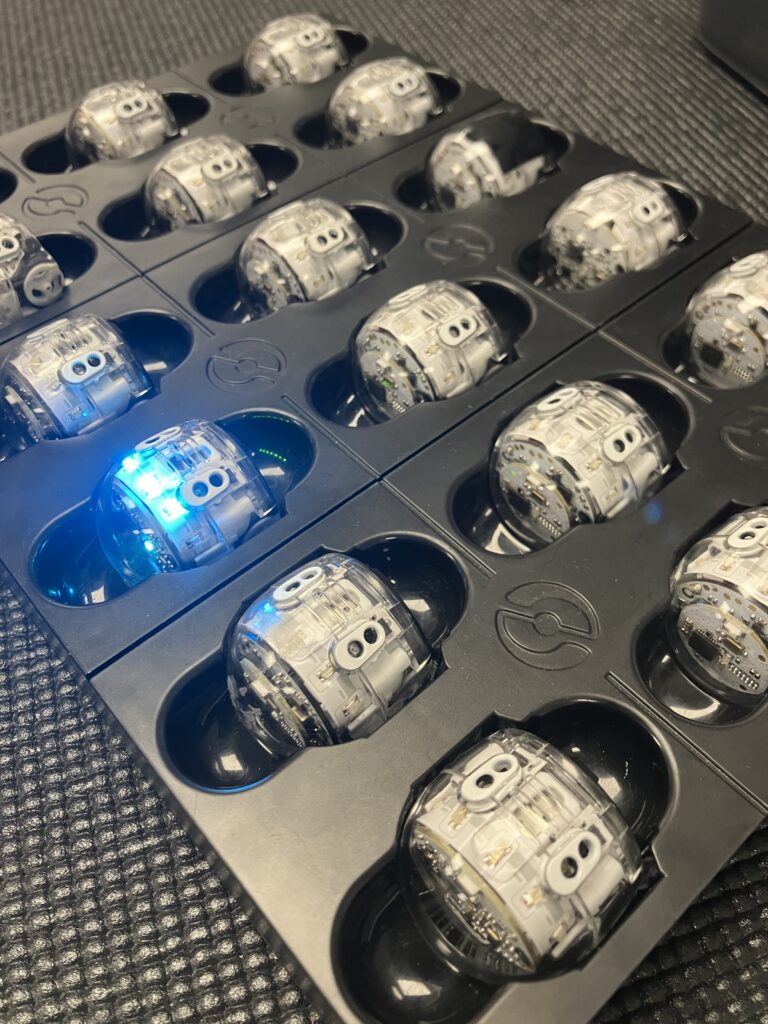
Lastly, I visited the Ozobot station. I ran out of time to investigate these tiny robots, but I did get an explanation of a neat activity students can do with these. Since Ozobots can be programmed to follow specific line colours, students can get them to move in different ways according to lines they draw in front of the bot. For PE class this semester I prepared a warm-up with a game called “line tag” where students run on specific lines on the gym floor. I don’t understand enough about Ozobots yet to have a clear idea of how this would work, but I can imagine a cross-curricular lesson involving these similarities. Below is a link to line tag instructions, it’s a very fun game that I strongly recommend bringing into gym class.
I learned so much from this field trip, and I still have lots of questions about some of the technology being used. But I’m so excited that students have the chance to learn about these amazing new things, and I am looking forward to learning with them.
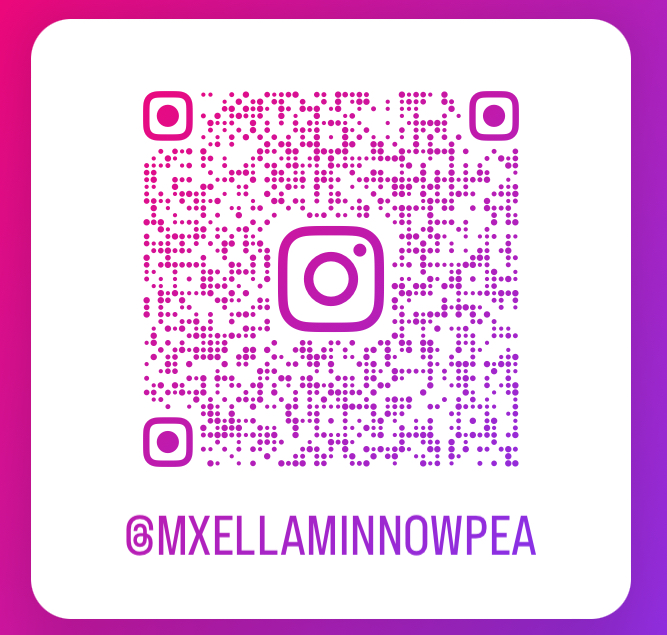
Here is the link and a QR code to my drag character (Ella Minnow Pea)’s instagram profile. I have my first drag story time video posted, and will likely use it to post more in the future to build up my portfolio. I would love to do live drag story time at a local library one day, so I can use this account as a portfolio to show my work when potentially setting up an event with a librarian in the future. Again, the account is private for now, but if you are one of my teachers or fellow teacher candidates I will gladly let you follow and stay up to date with my story time drag adventures if you’d like to learn more.
Thank you for reading along and learning with me, I really hope this free inquiry project has helped you understand and appreciate just how special and important drag story time is and why we need to protect it.
As you may know if you’ve been reading my incredibly exciting blog, my end goal in this free inquiry project is to create a drag character- one specifically made for drag story time- and start a digital drag portfolio. In this week’s post, I’ll explain the process of creating my drag character and setting up their Instagram account (aka digital drag portfolio, because this is technology class and if I can’t convert to a PDF I can hopefully make up for it by saying things like “digital drag portfolio”). Because I am not ready to deal with all the horrors of the internet, my drag profile is private for now. Here is a link and QR code for anyone interested, I will approve you if we know each other and I can trust you with drag matters.
Now that I’ve got all that out of the way, I can introduce you to my alter ego, Mx. Ella Minnow Pea! Ella is a drag performer here to serve looks and read books, specifically to read high-quality books to children in an engaging and fun way. Ella’s look is cute, sparkly, and will probably incorporate more princess dresses in the future- and maybe some sparkly suits, if I can get my hands on them. I love traditional drag, but for Ella I decided to go with very soft and subtle drag makeup. Oh, and I just remembered that the honorific “Mx.” is new to some people, so if you haven’t seen it before, it’s just a way to refer to someone if they don’t want to disclose their gender or marital status. You say it like “mix”, and anybody can use it. I included this title in Ella’s instagram account because it represents that this character is not defined by gender, she’s just here to sparkle.
I love wordplay and language arts, so I had to incorporate that in my drag name. “Ella Minnow Pea” (Mark L. Dunn) is the title of one of my favourite novels, and the message behind the book fits perfectly with my drag mission. Here’s the description from the back of the book:
Ella Minnow Pea is a girl living happily on the fictional island of Nollop off the coast of South Carolina. Nollop was named after Nevin Nollop, author of the immortal phrase containing all the letters of the alphabet, “The quick brown fox jumps over the lazy dog”. Now Ella finds herself acting to save her friends, family, and fellow citizens from the encroaching totalitarianism of the island’s council, which has banned the use of certain letters of the alphabet as they fall from a memorial statue of Nevin Nollop. As the letters progressively drop from the statue, they also disappear from the novel. The result is both a hilarious and moving story of one girl’s fight for freedom of expression and a linguistic tour de force sure to delight word lovers everywhere.
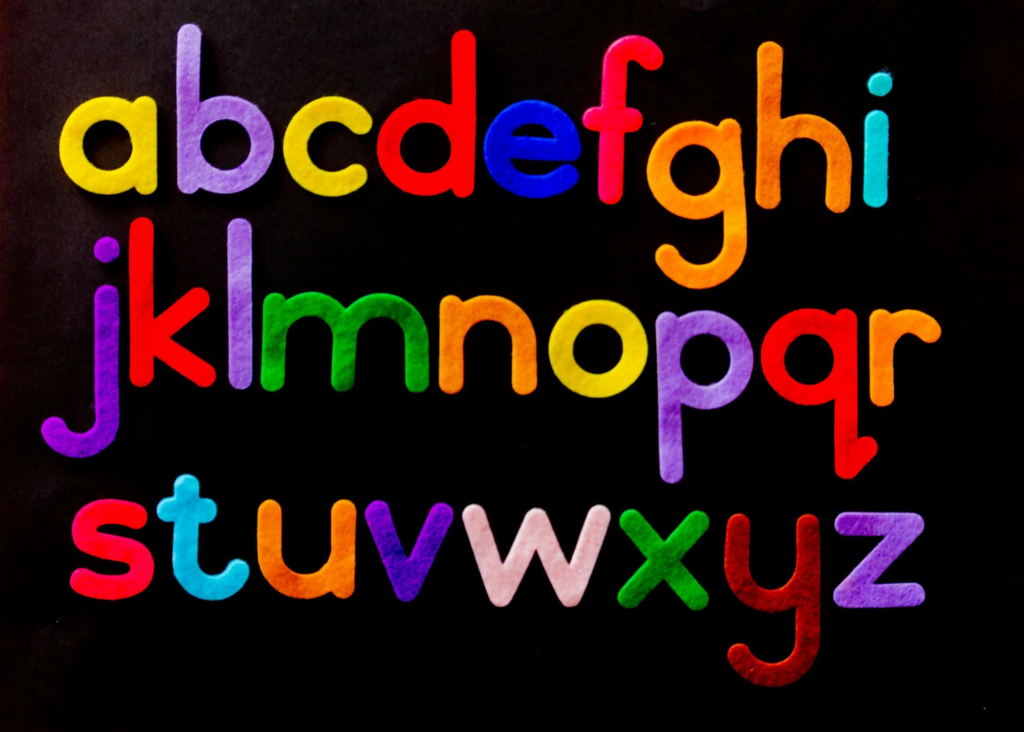
In addition to the parallels between Ella’s character and my drag character, the name “Ella Minnow Pea” is an alphabet joke, because it sounds just like “L M N O P”, hence why it was chosen for a story about letters. As a drag artist with the goal of promoting literacy and a love for reading, I think this funny name is perfect. I also think it’s perfect because some people like to make fun of LGBTQ+ people by calling us “the alphabet people”, and sometimes we reclaim this label with love. In fact, I once had an angry woman follow me out of a swimming pool to tell me some hurtful and factually incorrect things about myself as a Queer person. As her final jab, she shouted at me across the parking lot, “At least I’m not alphabetical!”, which gave me a good laugh, because it probably isn’t the most effective thing to say if you want to hurt someone’s feelings. So by being Ella Minnow Pea, I am having a laugh about and proudly owning my title as an “alphabetical” person.
I usually struggle with technology, but I found it fairly easy to set up Ella’s instagram account. When I started typing out this post I expected to have lots to say about the process, but it only took me about five minutes which I’m quite happy about. I uploaded a simple background for the profile pic, added some pronouns, and included this bio:
☆A drag performer promoting literacy and inclusivity☆ ★Busy serving looks and reading books in Ktunaxa ɁamakɁis★
I chose to note that I am in Ktunaxa ɁamakɁis, because I need to remember that this land is full of Ktunaxa history going back thousands of years before I showed up and put on some eyeshadow, and it’s still Ktunaxa land today. This is my responsibility as a person, but I think it’s even more important for me to acknowledge as a performer who wants to bring people together and make sure every child and family feels seen, respected, and celebrated. Saying the land’s name is a small step in a lifelong journey of promoting truth about Indigenous Peoples’ experiences and reconciliation of the trauma white teachers like myself caused through the Indian Residential School system.
Stay tuned for next week’s free inquiry post, by that time I will have my first story time video uploaded and will share a reflection of my whole free inquiry project.
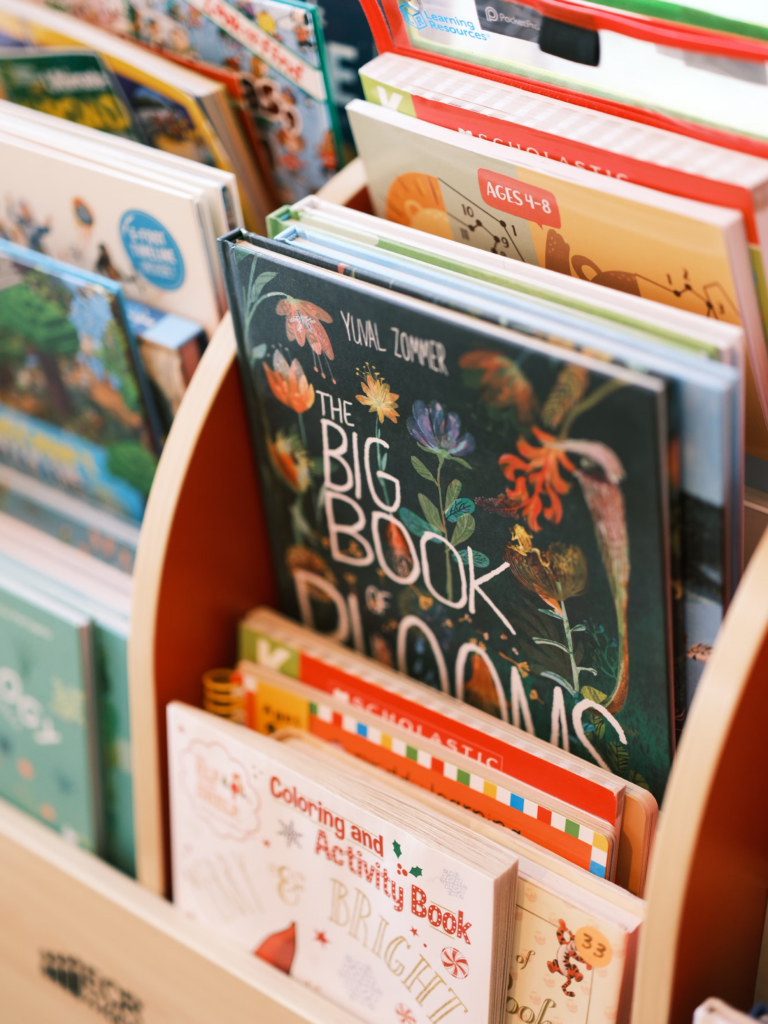
Welcome to the library, are you ready to get read? Just kidding- the fun and silly drag culture practice of “reading” someone is not at all literacy related, but I felt it was right to start with a joke after last week’s heavier post. In drag culture, “reading” someone means throwing a sassy, witty, personal comment their way with the intention of getting a similar sassy response back. It’s a bit like a roast battle, the intention is usually to make a smart and funny jab without being truly hurtful. It’s an art, really. Anyhow, onto the most important type of reading: books for children.
One of my main goals as a future teacher is to promote literacy. I always knew this was one of the pillars of teaching, but I didn’t realize how important (and sometimes difficult) of a task it was until reading From Striving to Thriving (Stephanie Harvey and Annie Ward, Scholastic) in my Literacy and Language course this semester. This wonderful book taught me that positive, fun experiences with reading in elementary school make all the difference in creating lifelong readers and strong students. It also taught me that so much of literacy is not just about reading the words, but meaning-making and drawing connections. I had already pondered creating a drag story time project, but this made me certain that it was something I wanted to do.
My end goal with this project is to create a drag character (specifically tailored to drag story time) and an accompanying social media profile. I’d like to use this profile to post a video of myself in character reading a children’s book with a matching drag look to really bring the story to life, and to keep this as a private portfolio of my work. But first, I want to learn more about what typical book choices look like for drag story hours. After all, the goal of DSH is to include and celebrate everyone, and I want to go into this with an idea of what types of books children and families like to see to feel included and celebrated.
Here are a few book recommendations I found that were put forward by San Francisco’s DSH chapter:
-My Princess Boy (Cheryl Kilodavis)
-Jacob’s New Dress (Sarah Hoffman)
-Morris Micklewhite and the Tangerine Dress (Christine Baldaccio)
-And Tango Makes Three (Justin Richardson)
-This Day in June (Gayle E. Pitman)
-I am Jazz! (Jessica Herthel)
-Heather Has Two Mommies (Lesléa Newman)
All of these books are excellent, but for my first drag story time, I want to choose a book that really stood out for me as a kid. Don’t get me wrong, 5 year old Graham thought Heather Has Two Mommies was fairly interesting, but I have always been more interested in picture books that lean into the surreal. I am also pretty interested in reading banned books. At the beginning of this project when I was still brainstorming, my teacher suggested reading or including banned books in my project, which made me go “Darn, why didn’t I think of that?”. I looked into banned books this week because nearly every book about LGBTQ+ people (or penguins) has been banned somewhere at some point, such as the books listed above.
I was shocked to find out that The Paper Bag Princess by Robert Munsch, one of my favourite books ever, appeared on many lists of commonly banned books! Apparently this is due to its portrayal of reversed gender roles, because if you haven’t read it, the Paper Bag Princess is a smart and strong girl who rescues a prince and then realizes she doesn’t need him anyways. Now I was certain this was the perfect book for my first drag story time. It’s perfect because it’s a story that plays by nearly all the rules of “acceptable” kids books in the eyes of many socially conservative people, yet it still has been banned for depicting the slightest whiff of deviation from social norms. Since I am creating my Instagram profile for the purpose of sharing it with my peers and potential librarians (I’d love to do an in-person story time one day!) I want to tell a story in a way that sends a bigger message to adults.
The message I want to send is that among many wonderful things, drag story time is a tool for pushing back against the censorship of children’s literature. And just because you aren’t LGBTQ+, or just because you’re a friendly white Canadian who loves (sort of) traditional fairy tales, it doesn’t mean “your books” are safe from being banned. So let’s stick together, everyone, and ensure that our kids get access to all the books that represent who they are.
(Response to prompt #1: Discuss graphic creation – how do you envision using this in the classroom?)
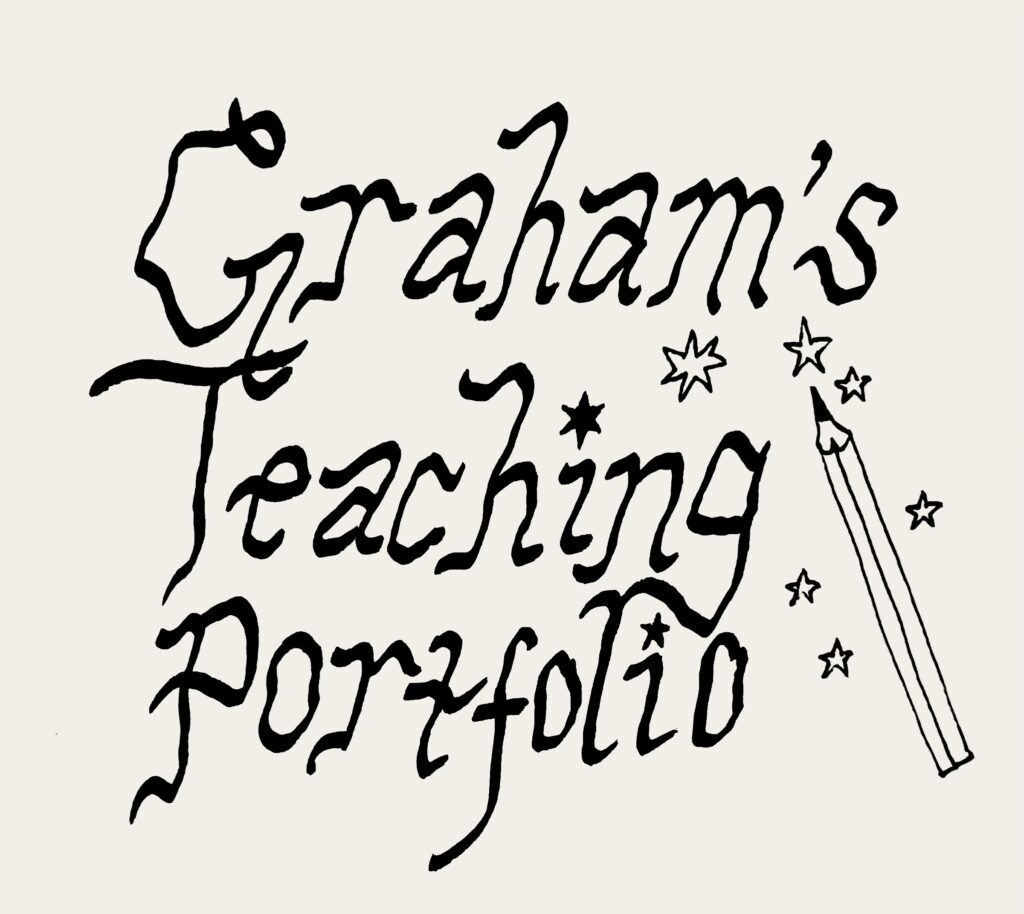
This week our class learned about creating graphics and using them in the classroom, and I found it quite fun. Pictured above is the graphic I created for class. I originally set out to create a blog banner for this project, but after making the graphic I actually decided to design a logo for my blog instead and use a simpler background. I am a maximalist at heart as you may have picked up from the graphic, but I want to go with a cleaner and more minimalist look for my education blog since I think it better demonstrates professionalism and is less visually confusing to readers. Pictured below is the logo I created for my blog this week- I created it by drawing in my sketchbook, photographing it, then playing with the contrast and highlights to clean up the background. I am not the most tech-savvy, so I’m happy that I could use simple, free tech in my phone to add my art to my blog.
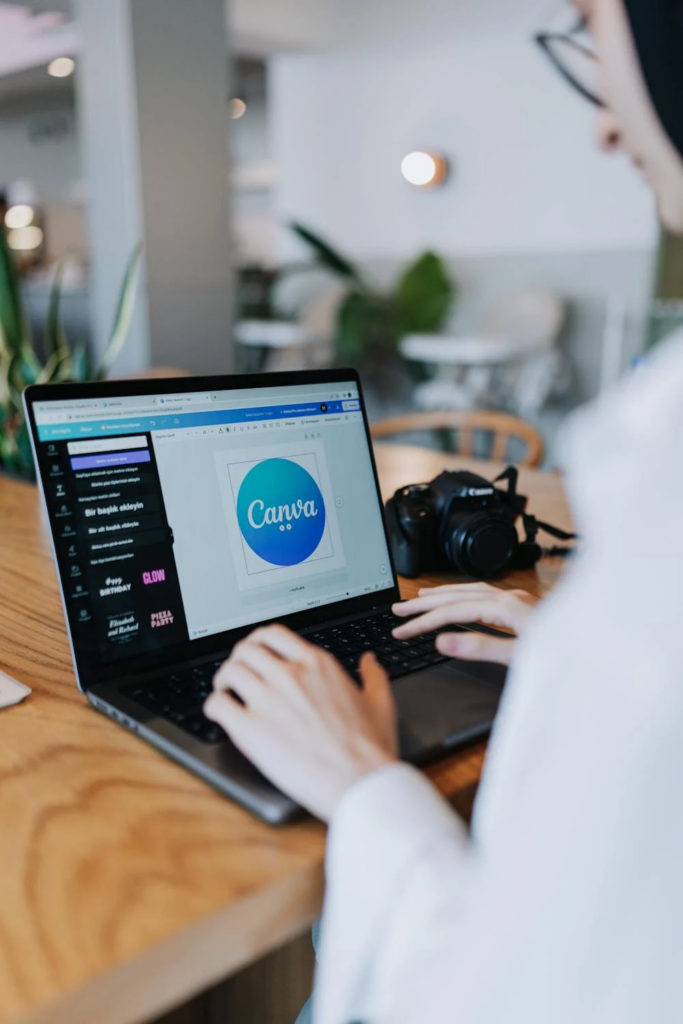
I created my blog banner graphic using Canva, and it was actually my first time on the website. I was excited to learn the ropes because several of my peers use Canva for other school projects and have recommended it to me. I found Canva a bit confusing to navigate at first because of the sheer amount of options for design elements, and I’ll admit I was a wee bit overwhelmed. Luckily, it didn’t take me too long to find the template I needed, and in about 15 minutes I was confidently selecting and editing stickers to spice up my banner. This boosted my tech confidence, and although I certainly have lots to learn before I can efficiently use Canva, I do see myself using it and similar applications in the classroom one day and for school projects.
I think graphics could be helpful for all sorts of things in the classroom, and I’m looking forward to exploring their uses more as I learn. During today’s class, I though about how I could create an “about me” graphic to quickly introduce myself to new classes in a fun way. I’m especially thinking about using this when I meet my year 2 practicum class in the spring, because I’ll only be there for 3 weeks so I won’t have much time to get to know the class before jumping into lessons and observation. I would add details like my “teacher name” (Just Graham? Mx. Graham? perhaps Teacher Graham?), my pronouns, my role in the classroom, and my hobbies.
I would also like to create graphics for classroom posters on key ideas, fun exit slips and worksheets, and powerpoint slides for lessons. I noticed in my recent in-situ experiences that many teachers now have a specific design used in all their classroom decorations, and I think I could use graphic creation sites to make some personalized decorations for my class one day with a nice theme.